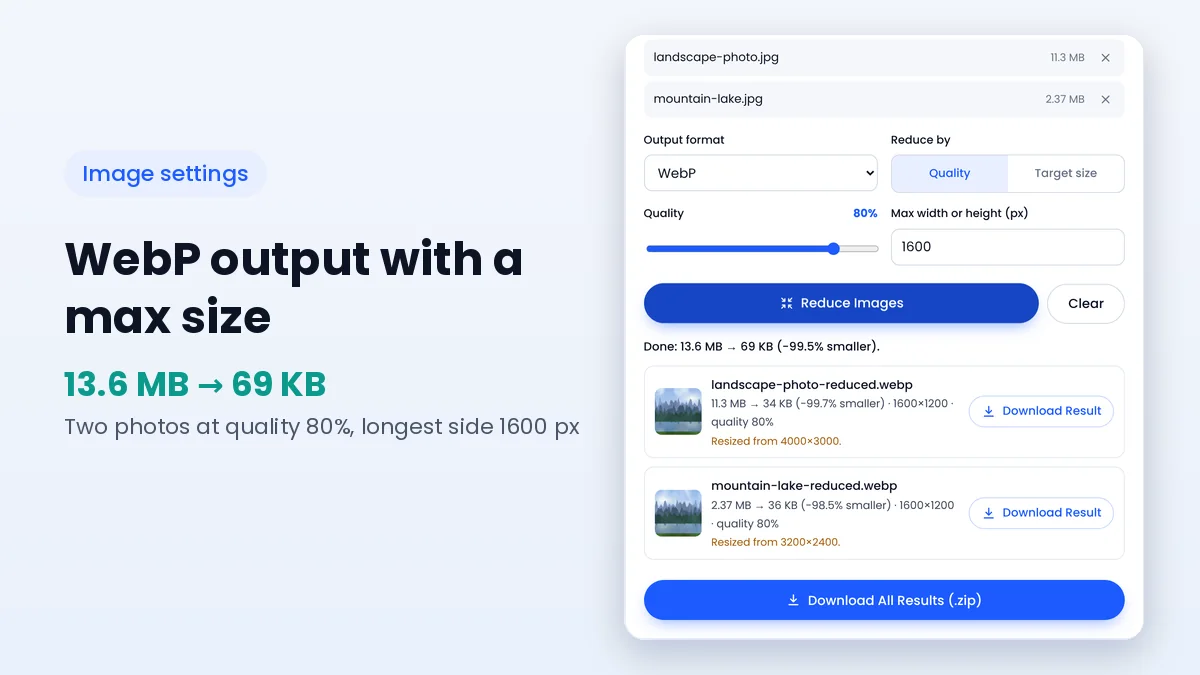
File Reducer Image Settings Explained: Quality, Format and Dimensions
A close look at output formats, quality values and resizing so each image lands at the right size.
Read guidePDF compressor tools are most useful for one kind of document: files built from scanned pages or large photos. A ten-page contract typed in a word processor may weigh less than 200 KB, while the same contract scanned on an office copier can easily pass 10 MB because every page is stored as a full-resolution picture.
This guide explains where PDF weight comes from, how the File Reducer PDF compressor makes documents smaller, how to choose between its three levels and why some PDFs barely change.
A scanner turns each sheet into an image, often at 200 to 300 dots per inch. An A4 or Letter page at 300 dpi measures roughly 2500 × 3500 pixels, so a multi-page scan quickly adds up to tens of millions of pixels, even when the page shows nothing but black text on white paper.
Photo-heavy PDFs, such as brochures, portfolios and reports exported from design tools, grow for the same reason. A single high-resolution photo placed on a page can outweigh all the text in the document many times over.
Internally, a PDF is a set of numbered objects: pages, fonts, text drawing instructions and images. Large images live in stream objects, usually stored with JPEG compression for photos or with lossless Flate compression for screenshots and graphics. A cross-reference table at the end records where every object starts.
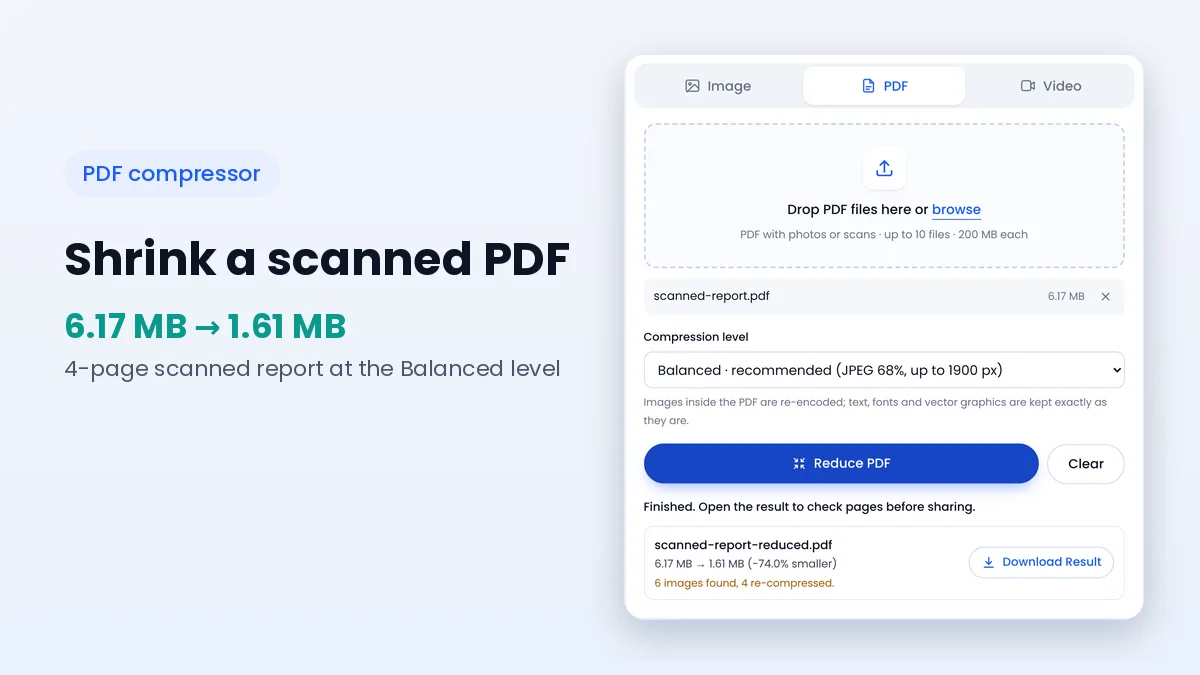
When you press Reduce PDF, the file is read inside your browser and its cross-reference data is parsed to locate every image object. JPEG images and 8-bit RGB or grayscale images are decoded, scaled down if they exceed the chosen maximum size, and encoded again as JPEG at the level's quality.
A replacement is only kept when it is clearly smaller than the original image. The compressor then writes a fresh cross-reference table so every object can still be found. Text, fonts, links and vector drawings are copied byte for byte, so they stay perfectly sharp.
The three levels combine a JPEG quality value with a maximum pixel size for the longest side of each image. These are the exact values used by the tool.
| Level | JPEG quality | Longest side | Best for |
|---|---|---|---|
| Light | 82% | Up to 2600 px | Scans with small print, documents you may print later |
| Balanced | 68% | Up to 1900 px | Email attachments and most upload portals |
| Strong | 50% | Up to 1300 px | Very strict size limits and screen-only reading |
Scanned pages with small print need more pixels to stay readable, so start with Light or Balanced for those. Brochures and photo reports viewed on screens usually look fine at Balanced, and Strong is the fallback when a portal refuses anything larger.
Some files show “no reduction” because there is nothing heavy left to compress. Others contain images that are deliberately skipped, since changing them could damage colours or transparency.
Open the reduced file and look at the page with the smallest text or the most detailed photo. Zoom to 100% and confirm everything is readable. If small print looks soft, run the original again at a lighter level rather than compressing the reduced copy a second time.
Also check page count and any form fields or links you rely on. The compressor does not remove pages or content, but a final look before submitting important documents is always worth a minute.
Upload portals for applications, banks and schools often state a maximum PDF size and sometimes a page limit as well. Check both before compressing, because a single oversized scan may fit easily once its images are reduced, while a very long document may need splitting with a separate PDF editor.
Scanning settings matter too. When you control the scanner, 150 to 200 dpi in grayscale is usually enough for typed documents, and it produces much smaller files than 300 dpi colour. Compressing a sensibly scanned file then gives the best mix of clarity and size.
Save the reduced PDF under a new name and keep the original for printing or archiving. The compressor adds “-reduced” to the filename automatically, so both versions can sit in the same folder without confusion.
Colour scans of plain black-and-white paperwork store three colour channels for content that only needs shades of grey. When you can re-scan the document, choosing grayscale often halves the starting size before any compression. Existing colour scans can still be reduced with the levels above, and photos inside them keep their colours.
No. Real text, fonts and vector graphics are copied without changes. Only raster images inside the PDF are re-encoded.
In a scan, the text is part of a page image. At the Strong level that image is scaled down, so use Light or Balanced for scans with small print.
Yes. Up to 10 PDF files can be added to one batch, and each result has its own download button.
No. Pages, bookmarks, links and form fields are kept. Only image data is replaced with smaller versions.
PDF compressor results depend almost entirely on images. Scanned and photo-heavy documents often shrink dramatically, while typed documents are already close to their minimum size. Start with Balanced, check the smallest text, and move to Light or Strong only when the result needs it.
Open the PDF tab to reduce your own document, and see why a file can stay too large if a PDF refuses to shrink.
Keep learning how to make images, PDFs and videos smaller.
A close look at output formats, quality values and resizing so each image lands at the right size.
Read guideReal-time re-encoding, resolution, bitrate and output formats explained in plain language.
Read guidePrivacy, speed, batch work and format support compared for browser tools and installed programs.
Read guide